🌻 Grow Guide: Nutty & Crunchy Sunflower Microgreens
- Nathanael Hostetter
- Dec 10, 2025
- 3 min read

Sunflower microgreens are a staple in the microgreen world, known for their large, meaty leaves, crunchy texture, and delicious nutty flavor. They are hardy and provide a fantastic yield, making them an excellent crop for any grower!
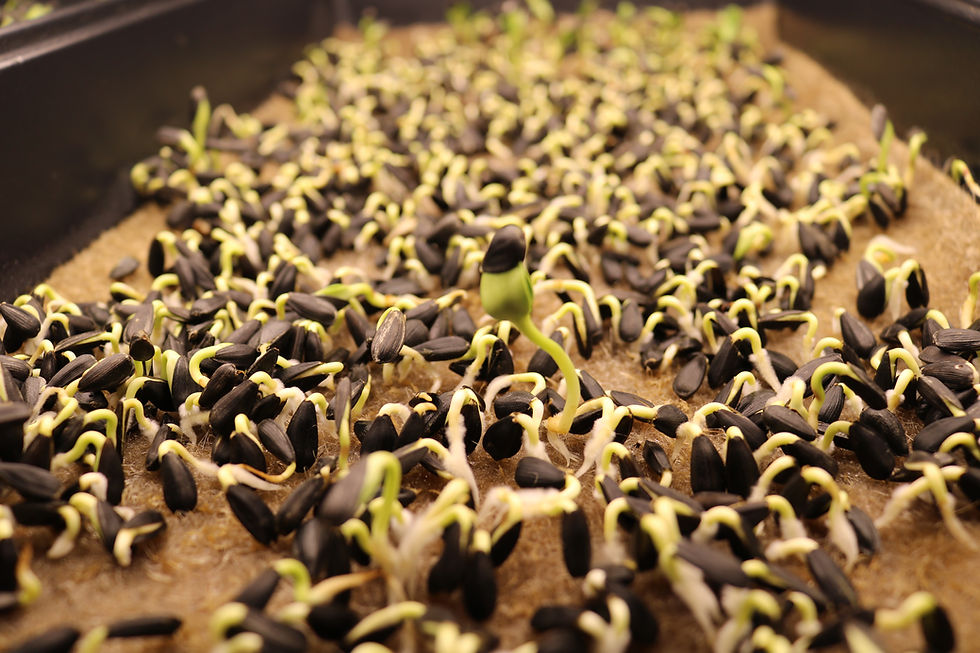
Here is your detailed guide to growing a full Farmer You Kitchen Kit tray of Sunflowers.
Step 1: Prep & Sow (Soaking is Mandatory!)
Data Point | Sunflower |
Seed Weight per Kitchen Kit | 15 Grams |
Needs Pre-Soak? | Yes (4–8 hours) |
Optimal Germination Temp | 72-75 degrees F |
The Soak: Sunflower seeds have a tough outer hull and must be pre-soaked for successful and uniform sprouting. Place 15 grams of sunflower seeds in a container of cool water and soak them for 4–8 hours.
Tip: Some growers add a tablespoon of apple cider vinegar or hydrogen peroxide to the water to sanitize the seeds and prevent mold later on.
Rinse & Drain: After soaking, thoroughly rinse and drain the seeds. Unlike peas, you do not need to wait for radicles (roots) to appear. Sow immediately.
Prepare the Tray: Place an 8x8 germination pad in the kitchen kit tray and fully saturate the pad, draining off excess water.
Sow the Seeds: Spread the pre-soaked and drained seeds densely across the entire surface. They should be touching but not stacked too high.
Step 2: Blackout & Weighting
Blackout and weighting is not a necessary step with the Farmer You Kitchen Kit, but it can lead to increased productivity. If you wish to forgo the blackout and weighting, simply place the germination cover over your tray until the seeds have sprouted.
Data Point | Sunflower |
Weighted Days | 1–2 |
Blackout Days | 2–3 |
Notes on Germination | Requires significant soaking; check for and remove hulls at harvest. |
Apply Weight (Days 1–2): Place a second tray (or some other flat waterproof object) directly on top of the seeds. Place a weight (5 lbs) on the top tray for 1–2 days. This pressure is important for pushing the shells off and ensuring the roots firmly anchor into the pad.
Continue Blackout (Days 2–3): After removing the weight, keep the trays stacked or covered in the dark for a total of 2–3 days until the seedlings are about 1 inch tall.
Step 3: Grow & Water
Data Point | Sunflower |
Other Tips | Needs good airflow to prevent mold/fungal issues. |
Introduce Light: Once the microgreens are mostly yellow and the hulls are starting to lift off, move them under bright grow lights or into a sunny spot. They will quickly turn deep green.
Watering: Switch entirely to bottom watering (pouring water in along the sides of the tray) for the remaining growth cycle. Sunflowers are thirsty but are very susceptible to mold if the leaves and surface stay wet. Always keep the leaves dry.
Hulls: If any hulls remain stuck to the leaves, misting the leaves lightly can help soften them, but the best method is to gently brush them off by hand after the plants have been under light for a day or two.
Airflow is Critical: Good airflow is absolutely essential for Sunflowers due to their dense planting and susceptibility to fungal growth (like mold and powdery mildew). Use a small fan directed toward the trays.

Step 4: Harvest
Data Point | Sunflower |
Days Until Harvest | 7–12 |
Timing: Your Sunflower microgreens will be ready in 7–12 days.
Look for Cotyledons: Harvest when the cotyledons (the large, chunky first leaves) are fully developed and vibrant green, before the first true leaves start to form.
Cut: Use a very sharp knife or heavy scissors. Cut the shoots just above the root line. They do not re-grow after harvest.
With the MagniMoist pad, harvesting is a breeze! Simply hold the pad vertically above a bowl and allow the greens to fall into the bowl as you cut along the stems.
Enjoy the crunchy, nutty goodness of your home-grown Sunflower microgreens!


Comments